There are three options to work with the software:
- Install RStudio locally
- Using an online binder docker environment that launches R studio immediately. Remark: This tends to be unstable in combination with shiny Apps, the App gets disconnected when there is no browser activity in the App window.
- Using an online binder docker environment that launches a Jupyter binder environment. See Note above.
- Using an offline docker that launches a Jupyter environment.
- For windows a portable R version of MSqRob can be downloaded here MSqRobPortable. Note, that this does not based on the most recent R version.
1. Local installation
- Install R/Rstudio
- Install Bioconductor packages:
source("http://bioconductor.org/biocLite.R") biocLite() - Install MSnbase
biocLite(“MSnbase”) - Install devtools and MSqRob
biocLite("devtools") devtools::install_github("statOmics/MSqRob@MSqRob0.7.5") - Download and unzip pda master tree
- Go to the pda site on github: https://github.com/statOmics/pda
- Click on the clone/download button and select download zip

- Unzip the repository
- Open Rstudio and go to the unzipped folder
2. Getting started with MSqRob using an online docker container
Docker is a platform to develop, deploy, and run applications inside containers, improving security, reproducibility, and scalability in software development and data science. Docker containers differ from virtual machines because they take fewer resources, are very portable, and are faster to spin up.
- Launch an R studio interface in an R docker along with bioconductor packages for proteomics.
- Alternatively, you can launch R studio via the jupyter binder environment:
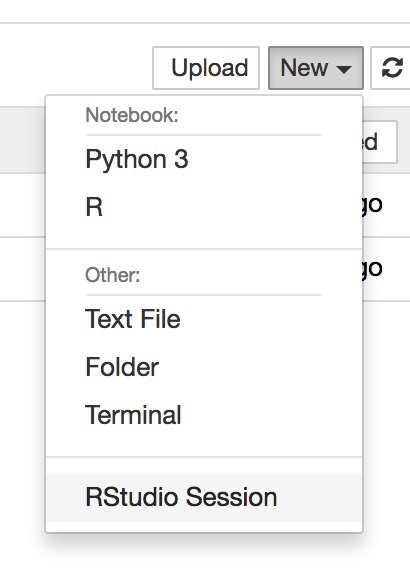
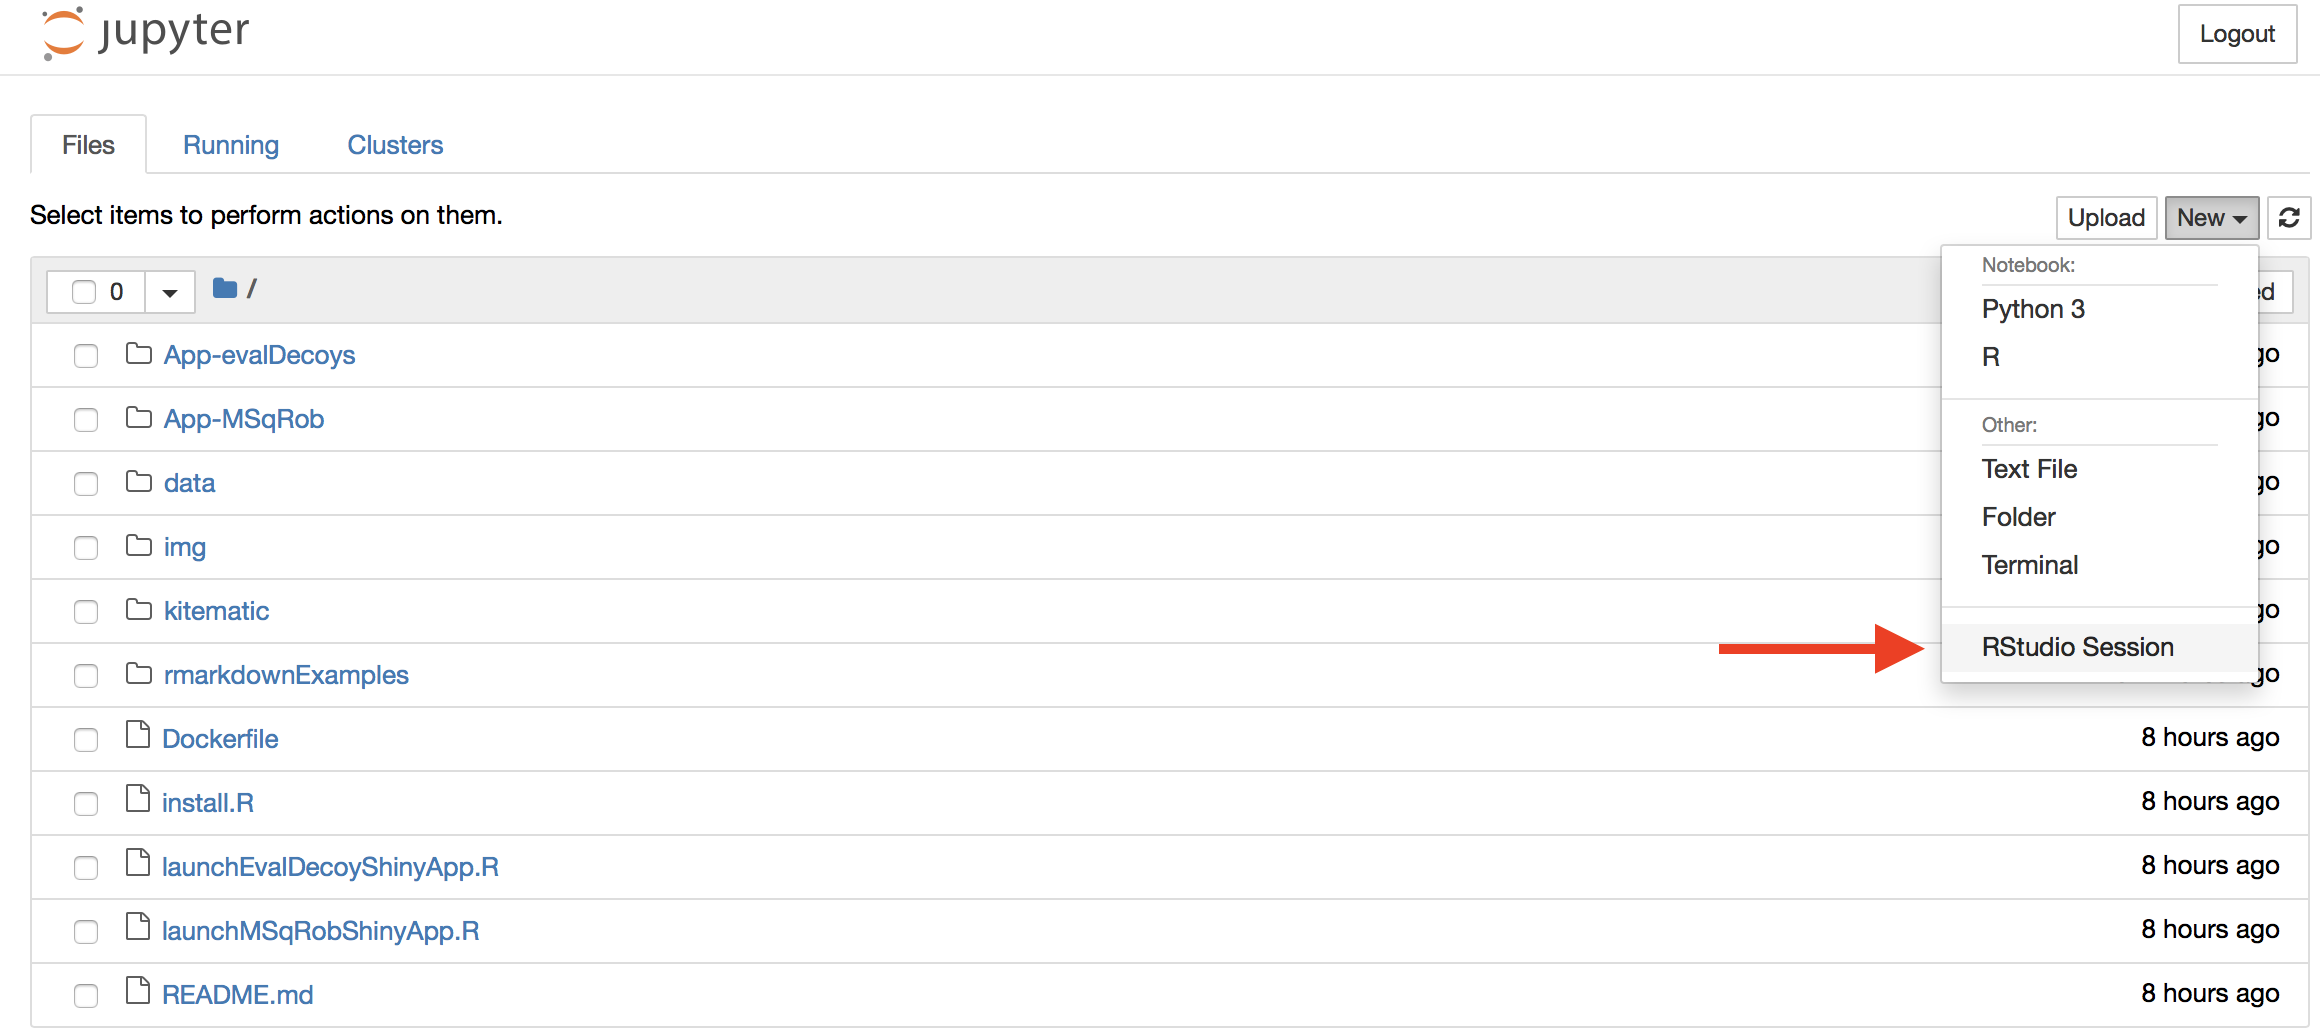
Once inside Jupyter Notebook, RStudio Server should be an option under the menu “New”:

3. Install the docker container locally
3.1 Generate and install docker container
- You can install your own local docker by downloading the entire PDA master branch of the githyb repository and invoking in a console:
docker build <path to proteomicsShortCourse directory> -t msqrob_docker
- This only has to be done once and generates a container that is always exactly alike.
3.1b Alternatively we can install from existing docker image
A docker image is a blue print of a docker container that can be used to quickly generate containers that are all exactly alike.
-
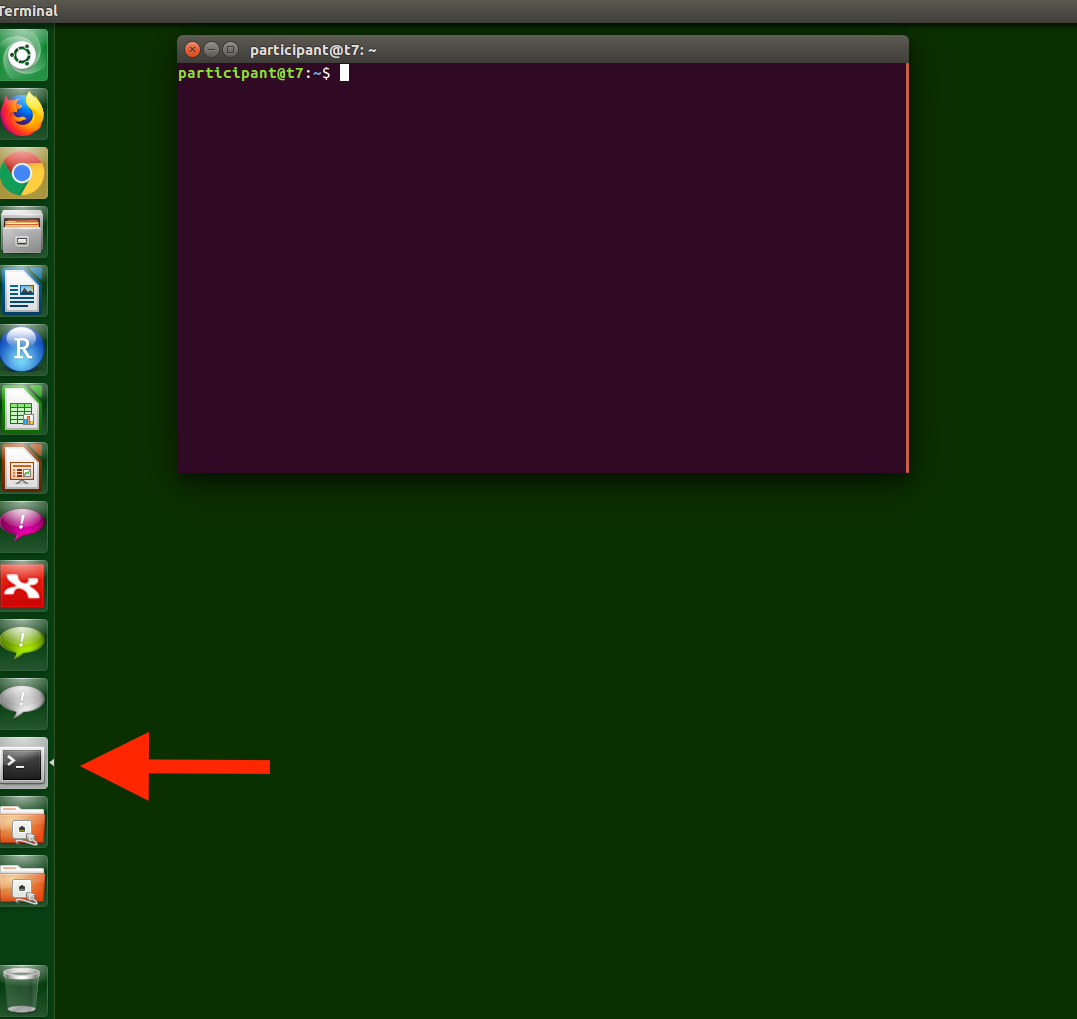
Open a terminal

-
In the Gulbenkian Institute you find the docker image on your local machine. Type
sudo docker load -i /media/gtpb_shared_drive/To_Participant/statsDocker/msqrob_docker.tar
If the docker image is on another location, you have to adjust the path “/media/gtpb_shared_drive/To_Participant/statsDocker/msqrob_docker.tar” to “yourPathName/yourDockerImageName”.
We run the command as a super user
sudo because normal users do not have the permission to launch docker on the PCs in the tutorial room.
The docker command launches docker.
The load command will enable a new docker to be installed locally.
The switch -i stand for input
Then we give the full path to the docker, which is available on the share.

Now the docker installations starts.
Note, the installation only has to be executed done once.
3.2 Launch the docker container
Upon installation, we can launch the docker image on our machine.
-
Open a terminal
-
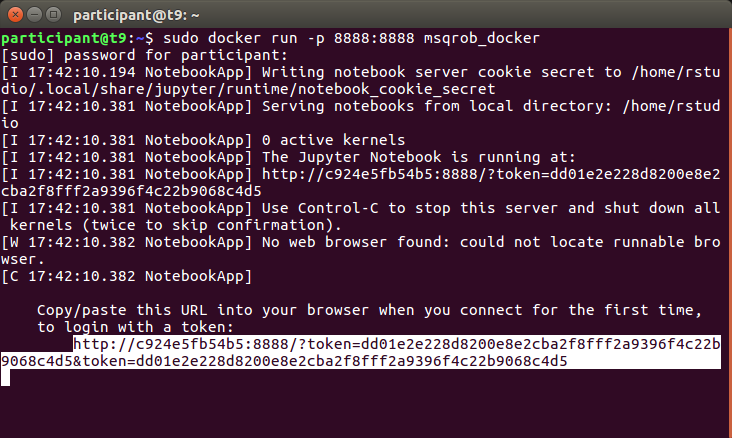
Launch the docker by typing the command.
sudo docker run -p 8888:8888 msqrob_docker
You have to run the command as a super user (sudo) because normal users do not have the permission to launch docker on the PCs in the tutorial roam.
The docker command launches docker.
The run command enables you to launch a Docker.
The -p 8888:8888 command is used to listen to port 8888 of the docker and to pipe it to the port 8888 on the local machine.
The will enable us to view the jupyter server in the Docker via a webbrowser.
We can interact with the docker via a web browser.
- Open Firefox

A new window will appear where you have to fill a the token. You can copy the link token from the terminal. Here, it was,
http://c924e5fb54b5:8888/?token=dd01e2e228d8200e8e2cba2f8fff2a9396f4c22b9068c4d5&token=dd01e2e228d8200e8e2cba2f8fff2a9396f4c22b9068c4d5
we first replace the machine name c924e5fb54b5 by localhost and paste the adjusted address in the browser.
http://localhost:8888/?token=dd01e2e228d8200e8e2cba2f8fff2a9396f4c22b9068c4d5&token=dd01e2e228d8200e8e2cba2f8fff2a9396f4c22b9068c4d5
Alternatively, you can connect paste the address
http://localhost:8888/
in the browser and paste the token when requested.
Note, that copying in linux is possible via highlighting text. Pasting can be done by pushing the middle mouse button.

Press enter! Then the jupyter hub environment will launch.

Select New>Rstudio Session to launch the statistical software R. Now an interactive statistical programming environment will open in the browser that runs on a cloud server.
Close the docker container
Only if you work with a local Docker.
- Close RStudio
- Log off the jupyter environment
- Open a new terminal and type the command
sudo docker stop c924e5fb54b5
where you replace c924e5fb54b5 with the name of your docker.